Disclosure: This post contains affiliate links and I may earn a small commission if you purchase through these links.
Tired of seeing grime taint your gorgeous tan sandstone? Fear not! I’ve got you covered on how to clean sandstone, indoors or outdoors.
Alkaline cleaners, gentle scrubbing, and patience are your best helpers while cleaning sandstone. Your sandstone will respond well when treated with the right cleaning materials.
Sandstone is a common type of stone used to make tiles, walls, and slabs for indoor and outdoor settings. It is sediment and eroded debris that settles in layers. This forms a grainy, porous rock. The rock’s permeability depends on the size of the sediment which formed it. Challenges arise with different degrees of porousness.
With a natural ability to absorb substances, sandstone easily becomes dirty. It absorbs all types of liquids, from floor cleaner to paint and makeup. The age of the sandstone will determine how difficult it is to repair the damage.
So why should you be cleaning the sandstone in your house?
I do it because I like my surroundings spick and span, with no bad smells and no lasting stains. I’m sure you do too! I’m here to help you get that done, so let’s dive right into it.
Let me show you how to clean sandstone.
Step 1: Preparing the Sandstone for Cleaning
Cleaning sandstone is a unique but simple process.
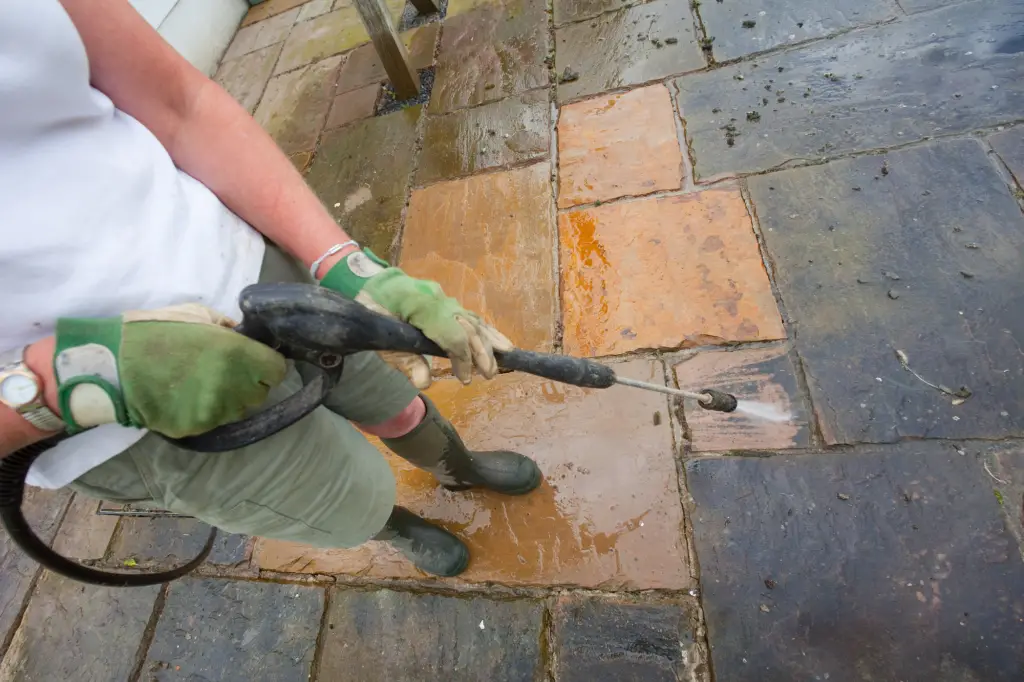
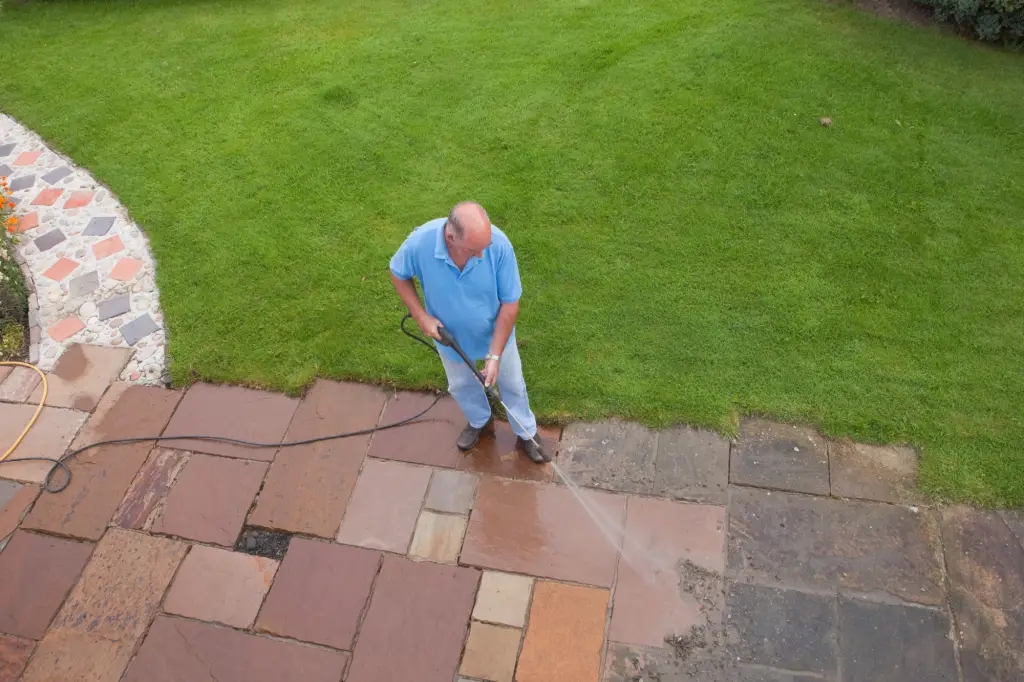
The first step of cleaning any type of sandstone is washing it with hot water. Try not to use hard brushes or hose pipes with a high-pressure flow because that might backfire. You see, the water could end up pushing the grime further into the pores of the stone.
So what can you do instead?
Start by giving your sandstone a gentle rinse with warm water. Let the water sit on the surface for two to three minutes. That will help loosen the dirt stuck on it. After that, use a light broom, straw or cane, to sweep the dirt to one side in long, gentle, strokes. This will restrict the grime to the topmost layer of the stone.
That’s only the first step, though! We’ve still got some work to do to get that rock glistening and bright.
Step 2: A Chemical Romance with Sandstone
While durable, sandstone is brittle because of its low density. This means harsh chemicals can erode the stone and leave it with unappealing blotches. These can ruin the aesthetics of your house, porch, or driveway. Weather, especially wintry and windy conditions, can also destroy the finish of the surface of your sandstone.
But don’t worry, you can get around the problem of chemical/weather damage in one simple step!
First, consider whether your sandstone has a topical sealer.
A topical sealer forms a synthetic coating over natural stone to prevent it from absorbing water. This protects the stone from chemical and weather erosion.
If you have a topical sealer already in place, that’s wonderful. It means you can move directly to the cleaning stage. But the process will be a bit different if your sandstone isn’t already coated with one. Do not worry though!
This product is an affordable, effective sealer for all interior and exterior stonework. It repels water and chemicals and, as a bonus, is environmentally friendly! You can clean your sandstone first, then apply it, so cleaning is easier the next time spring rolls around.
But remember that even if you have a topical sealer on your sandstone, you should be gentle with your broom during Step 1. The sealer can protect against rain, snow, water, and chemicals. But tough bristles and hard scrubbing with a brush might scratch it.
And that’s the preparation to clean your sandstone. There are small differences in the next steps based on whether or not you have a sealer in place. Follow along based on what applies to you!
Step 3a: Sealed, Ready, Go!
Got a sealer on your sandstone? Follow along here.
Start by assessing the condition of your stone. Some questions you could ask are:
- What biological damage is visible? Things you could look out for include moss, algae, and weeds that grow through the pores of the stone. While this generally doesn’t happen to stone coated with a topical sealer, nature is more powerful than a human-made sealer! So check your stone for biological damage because that leaves stains too.
- Are there any visible stains or darkening of the stone caused by synthetic materials? You might want to check your mental records listing all the makeup or paint that fell on that floor. This will help you choose the right cleaners to use after the warm water wash.
- Do the same assessment you did for biological and synthetic stains for organic stains from food.
Once you’ve answered these questions, let’s get cracking with the cleaning. Here’s what you can do for each of the different kinds of stains:
Biological stains and organic stains
Since most biological stains are caused by algae, fungus, and moss, they need ammonia or bleach for removal. Both of these chemicals are alkaline cleaners with a pH between 11 and 13, hence safe for the sandstone. Organic stains are also made of biodegradable materials, so similar solutions will apply.
- Take half a cup of ammonia OR bleach, NOT both. They release a hazardous gas when mixed together, and that is dangerous for you. Mixing the two chemicals together forms chloramine which can lead to poisoning. Dilute your chemical of choice in one gallon of water. Mix well!
- Pour this over the stain, and let it sit for 3-4 minutes.
- Gently scrub with a washcloth.
- Rinse with water to remove the smell of the cleaner, which is usually very strong even after dilution.
Synthetic stains
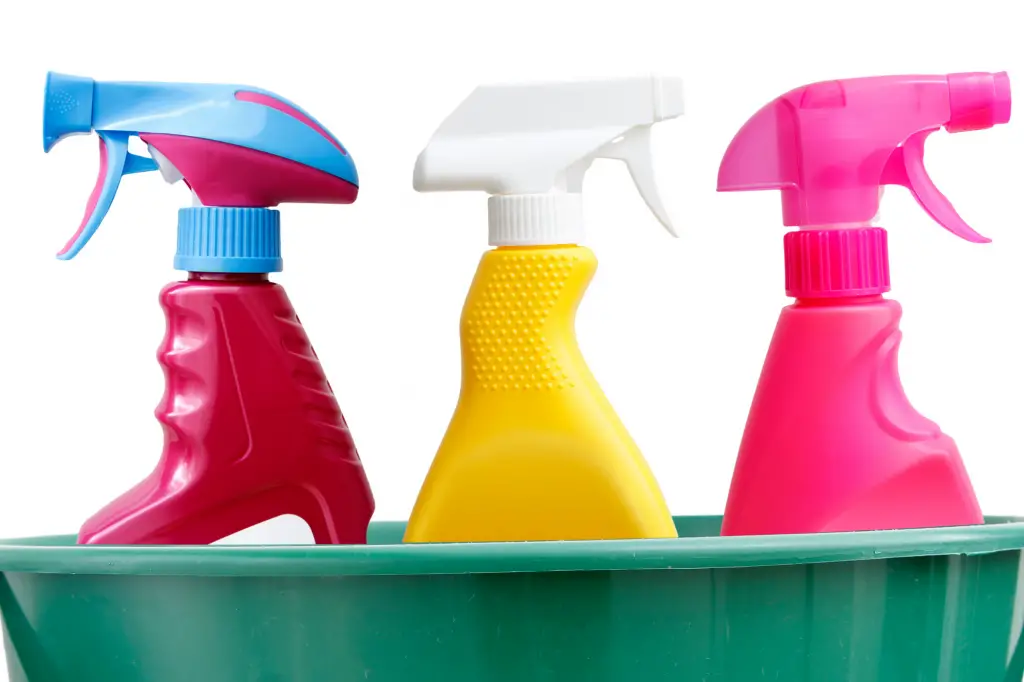
Synthetic stains are best cleaned with liquid soap or detergent mixed with water. For stains caused by watercolors, fountain pen ink, or eyeliner, you can use the soap mix with a gentle or hard-bristled brush. This might work depending on how old the stain is. But for stains caused by oil-based substances like lipstick, oil paint, or specific types of ink, here’s what you can do:
- Use makeup remover or nail polish remover (you’re looking for acetone) to rub off makeup stains. Use a rag or cotton pad.
- Scrape off excess paint. Use a blade or scraper at an angle almost parallel to the stone to avoid scratching the stone. Don’t use any flammable cleaners to remove paint. You can use acetone for small stains after scraping residual paint. But for larger stains, you should consider industrial paint cleaners.
- Light-colored ink stains can be neatly removed using hydrogen peroxide or a small amount of bleach. Pour one of the two on the stain, and leave it on for a few minutes, before wiping the mix off with a cloth or cotton pad. Darker stains will need acetone.
Step 3b: Cleaning Sandstone without a Topical Sealer
Yes, you can still clean your sandstone even if it isn’t coated with a topical sealer. You might find it easier to clean sandstone in this case.
The thing you’re going to use is a poultice.
What is a poultice, you ask? Not a French miniature dog, if that’s what you’re thinking. Although some of them can be quite cute, please don’t use dogs to clean your sandstone.
A poultice is like plaster of Paris. It needs to solidify to have the ideal effect. It is used to clean tough, old stains. It is a thick paste made of cleaning agents mixed with an absorbent cleaner. A poultice is layered on top of a difficult stain. Its thickness prevents the sandstone from absorbing it. This prevents damage, and old stains are effortlessly removed.
Here’s how you can make a poultice for the stain caused by that spaghetti you dropped three years ago.
Identify and mark the toughest and oldest stains on your sandstone with masking tape. This will help isolate the stains and make pouring the poultice easier.
There are a variety of white absorbent materials you can choose from to make your preferred poultice. But it might be easier to use a premixed poultice from a hardware store as that will save you time.
Once you’ve decided on your poultice of choice, go ahead and mix the powder with water to create a thick paste. It should resemble the thickness of chocolate left out of the fridge in the summer. Mix it till it has no lumps, like cake batter!
I’m hungry now…oops.
Apply a generous layer of the poultice on each spot that you marked with tape. Cover the stain completely. Ensure the poultice runs an inch or so beyond the boundaries of the tape. This extra spread should ensure the entire stain is covered including any splatter marks.
You can use a thin plastic sheet like cling wrap to cover the poultice. Seal the sides of the plastic with masking tape to ensure the mix dries completely, undisturbed. Remove the plastic after a day, and let the poultice air dry.
At this point, the poultice is absorbing the material that created the stain from inside the stone. It’s able to do this because there’s no topical sealer blocking it.
Are you feeling the excitement yet? I remember cleaning my granite tiles with a homemade poultice for the first time, and the resulting shiny surface filled my heart with joy!
We’re now at the last stage of cleaning. Once the poultice has dried completely, you can use a scraper to remove it. It should come off as a single lump. You can use warm water and a gentle washcloth to remove any remaining mixture. Finally, dry it with a soft fabric like a dish towel or microfiber cleaning cloth.
And voila! What does it look like?
If the stain still hasn’t disappeared from the stone, you can safely repeat the process. Do this with your poultice up to three to four more times until the stains vanish.
Checklist: how to clean sandstone
We’ve been through the simplest ways to clean your sandstone. Sandstone is easy to clean because you don’t need industrial tools or a team of geologists to help you! Here’s a checklist to help you ensure you’ve got everything you need for this mission of spotless sandstone:
- Warm water and detergent or liquid wash soap
- Rags, microfiber cloth, straw, or another gentle broom
- Hosepipe for rinsing
- Scraper to remove caked residue
- Bleach, ammonia, hydrogen peroxide, acetone
- Store-bought poultice to remove the big, bad stains
- A mood to clean!
You should feel ready to clean your sandstone now. Good luck, and let me know in the comments section how your adventure fares!
Further Reading
